
Written by: Emily Chen, Senior Recipe Developer at Cookie Insights
Background: With over six years of hands-on experience experimenting with pastry arts and ingredient chemistry, Emily tests dozens of small-batch variations to ensure every home-baked cookie delivers professional results.
Recipe testing: This mirror glaze recipe was rigorously tested across 15 kitchen trials to pinpoint the exact 86–95°F (30–35°C) pouring window for a flawless, non-runny finish.
A mirror glaze is the showpiece of the frosting world. Poured at the right moment, it sets into a glass-smooth, high-shine coating that makes a cookie look like it came from a pastry case. It’s also the frosting style with the least room for error: a few degrees too hot and it runs off; a few degrees too cold and it sets in lumps.
In this guide you’ll learn what a mirror glaze is made of, why temperature matters more than anything else, a small-batch recipe scaled for cookies, how to glaze flat cookies cleanly, and a troubleshooting table for the usual failures. This article is part of our pillar guide to Gourmet Frostings, Glazes, and Cream Cheese Icing, where mirror glazes are one of the four frosting families.
💡 Quick take: A mirror glaze has three jobs: set (gelatin), shine (sugar and glucose or corn syrup), and opacity (white chocolate and condensed milk). Pour it at roughly 86–95°F (30–35°C) onto a cold, flat cookie and it will flow smoothly and set glossy.
What Is a Mirror Glaze?
A mirror glaze (glaze miroir in French pastry) is a gelatin-set, shiny glaze that’s poured over a cold dessert. Most recipes combine six ingredients:
- Sugar and glucose or corn syrup: sweeten the glaze and give it a smooth, glossy finish. The syrup also keeps the sugar from crystallizing.
- Water: dissolves the sugar and hydrates the gelatin.
- Gelatin: gives the glaze structure, so it sets on the cookie instead of dripping off.
- Sweetened condensed milk: adds body and a soft, creamy texture.
- White chocolate: provides opacity and richness, and helps the glaze set to a soft, sliceable texture rather than a rubbery one.
- Food coloring: gives the glaze its color. A drop of white food coloring brightens other colors and makes them opaque.
Because it’s gelatin-based, a mirror glaze is not vegetarian or vegan, and it contains dairy.
Why Temperature Is Everything
Our pillar guide points out that mirror glazes require more precision than any other frosting, and the reason is physics. Gelatin sets as it cools. If the glaze is too warm, it’s too thin and runs off the cookie in a sheet. If it’s too cool, it begins to set before it levels out, leaving thick, uneven coverage.
The target window is 86–95°F (30–35°C). Use a digital thermometer; a 5°C error produces a visibly different result.
The cookie’s temperature matters too. Pastry chefs typically glaze frozen cakes with a lukewarm glaze, because the cold surface helps the glaze set quickly in a thin, even layer. For cookies, you don’t need to freeze them, but you do want them fully cooled and chilled for 15–30 minutes in the refrigerator so the glaze starts to set on contact.
Choosing Cookies for Mirror Glaze
Mirror glaze sits on a surface, so the cookie’s shape matters:
- Best: Flat-topped, sturdy cookies such as cut-out sugar cookies, shortbread, and cookies pressed flat before baking. The glaze pools evenly and sets in a smooth layer.
- Workable: Thick Crumbl-style cookies with a slightly domed top, if you press the dough balls down firmly before baking or trim the tops flat.
- Avoid: Craggy or heavily textured cookies (oatmeal, chunky chocolate chip), where the glaze catches on bumps and sets unevenly.
Fruit and citrus flavors are the classic match, since the glossy finish suggests a fruit tart. See our lemon cookie recipes, key lime cookies, and strawberry shortcake cookies for cookies that pair well.
Small-Batch Mirror Glaze for Cookies
Most mirror glaze recipes are written for a whole cake and make far more than a batch of cookies needs. This version is scaled to a half batch, which is easier to blend and keeps the temperature window manageable. Weigh the ingredients on a kitchen scale — the volume measurements are approximate and small amounts of gelatin and chocolate matter.
Yield: about 1 cup (roughly 250 g), enough to glaze 8–10 cookies Prep time: 25 minutes (plus 1 hour to chill the glaze and 30 minutes to chill the cookies)
Ingredients
- 5 g (about 1½ teaspoons) unflavored powdered gelatin
- 30 g (2 tablespoons) cold water, for blooming the gelatin
- 75 g (6 tablespoons) granulated sugar
- 75 g (about 3½ tablespoons) light corn syrup or glucose syrup
- 40 g (about 3 tablespoons) water
- 50 g (about 2⅔ tablespoons) sweetened condensed milk
- 75 g (2½ oz) white chocolate, finely chopped
- Gel food coloring, plus 1 drop white gel coloring (optional, for opacity)
Equipment: digital thermometer, immersion (stick) blender, fine-mesh sieve, wire rack set over a baking sheet
Instructions
- Bloom the gelatin. Sprinkle the gelatin over the cold water in a small bowl. Let it sit 5–10 minutes until it looks like thick jelly. Fully hydrated gelatin is essential; gelatin that hasn’t fully bloomed leads to a loose glaze.
- Prepare the chocolate. Combine the chopped white chocolate and condensed milk in a tall, narrow heatproof container (a measuring jug works well for blending).
- Cook the syrup. In a small saucepan, combine the sugar, corn syrup, and 40 g water. Heat over medium, stirring until the sugar dissolves, until the syrup reaches 217°F (103°C).
- Add the gelatin. Remove from the heat and whisk in the bloomed gelatin until dissolved.
- Pour over the chocolate. Pour the hot syrup over the white chocolate and condensed milk. Let it sit for 1–2 minutes to melt the chocolate.
- Blend without bubbles. Insert the immersion blender to the bottom of the container, tilt slightly, and blend with the blade fully submerged. Do not lift it out, as that incorporates air bubbles. Blend until smooth and glossy.
- Color and strain. Stir in the gel coloring and white coloring, then pour the glaze through a fine-mesh sieve to remove any bubbles or unmelted bits.
- Cool to the pouring window. Cover the surface directly with plastic wrap to prevent a skin and let the glaze cool at room temperature, stirring gently now and then, until it reaches 86–95°F (30–35°C). This usually takes 30–60 minutes.
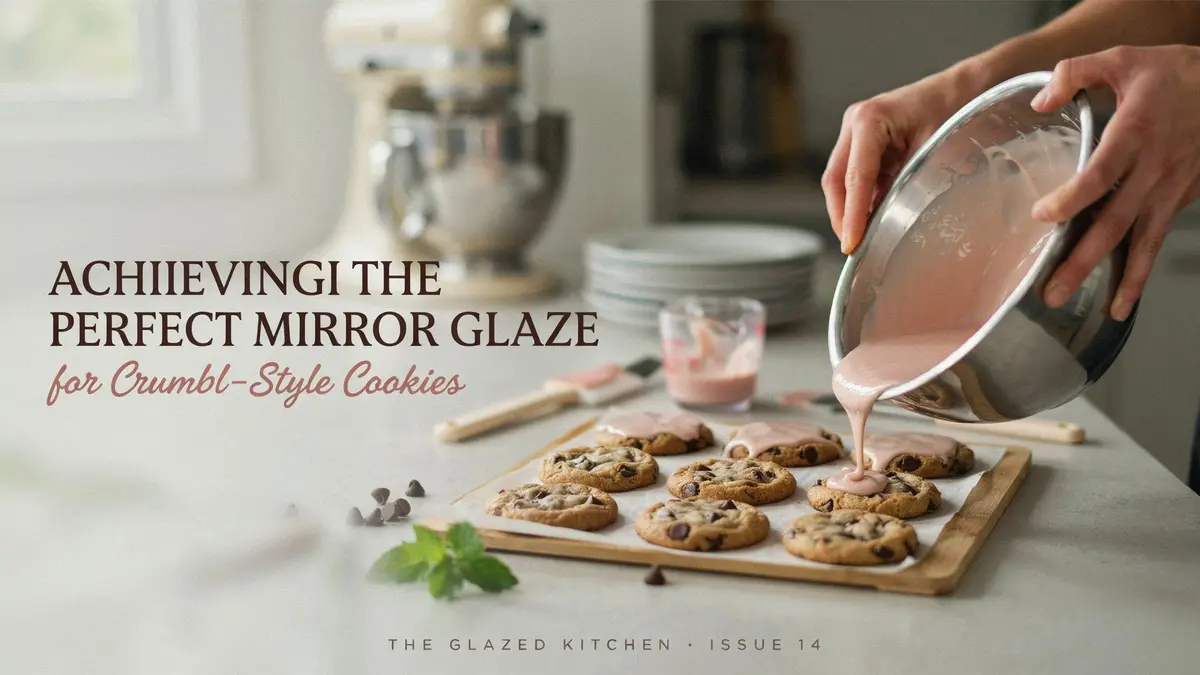
- Glaze the cookies. Place fully cooled, chilled cookies on a wire rack over a baking sheet. Pour the glaze steadily from the center outward in one pass, letting it flow over the edges. Tap the rack gently to level the glaze and pop any surface bubbles.
- Set. Let the glaze set at room temperature for 15–20 minutes, or refrigerate for 10–15 minutes until it’s firm to the touch.
Pro Tips
- Use good white chocolate. Cheap white chocolate chips often contain stabilizers that don’t melt smoothly. Choose a bar or couverture-style chocolate with cocoa butter listed.
- Weigh the chocolate. Small variations in chocolate quantity can change the glaze’s texture noticeably.
- Reheat if needed. If the glaze cools too much, warm it gently in the microwave in 5-second bursts, stirring between each, until it returns to 86–95°F (30–35°C). Don’t overheat it.
- Have extra glaze. Pouring over cookies wastes some glaze that drips onto the pan. You can scrape it up, strain it, and reuse it.
How to Glaze Cookies Cleanly
- Work in a cool kitchen. Heat speeds up the cookies’ warming and slows the glaze’s setting.
- Glaze in small batches. Take only a few cookies out of the refrigerator at a time so they stay cold.
- Pour, don’t spread. Touching the glaze with a spatula leaves marks. Pour it in one steady motion and let gravity level it.
- Clean the edges. Once set, trim any drips from the base of the cookie with a small knife for a polished edge.
- Add decorations quickly. Sprinkles, edible gold, or fresh berries should go on while the glaze is still slightly tacky, within a minute or two of pouring.
Troubleshooting Mirror Glaze
| Problem | Likely cause | Fix |
|---|---|---|
| Glaze is full of bubbles | Blender lifted out of the glaze, or glaze stirred too vigorously | Blend with the blade submerged; strain; tap rack or pop bubbles with a toothpick |
| Glaze is too thin and runs off | Poured too warm, or too little gelatin | Let it cool to 86–95°F (30–35°C); chill the cookies first |
| Glaze is thick and lumpy | Poured too cool | Rewarm gently in 5-second bursts, stirring, to the target temperature |
| Glaze is dull, not shiny | Glaze too cool, or not fully blended | Blend more thoroughly; pour at the right temperature; avoid touching it after pouring |
| Glaze looks translucent, not opaque | Not enough white chocolate or white coloring | Add a drop of white gel coloring and blend again |
| Glaze is rubbery | Too much gelatin or too little chocolate | Weigh ingredients carefully; use full-fat white chocolate |
| Glaze has tiny gelatin lumps | Gelatin not fully bloomed or dissolved | Bloom for the full time and strain the glaze through a sieve |
| Glaze turns tacky or wet in the refrigerator | Condensation when cookies move from cold to warm | Keep cookies in a closed container and let them reach room temperature before opening |
Storing Glazed Cookies and Leftover Glaze
- Glazed cookies: Mirror glaze contains dairy and gelatin, so store glazed cookies in a single layer in an airtight container in the refrigerator, and eat within 2–3 days. Let the container come to room temperature before opening to prevent condensation on the glaze.
- Leftover glaze: Press plastic wrap directly onto the surface and refrigerate in an airtight container for up to 1 week. Rewarm gently in short microwave bursts to 86–95°F (30–35°C) before using.
- Don’t freeze glazed cookies. Freezing and thawing can cause condensation and dull the finish.
When Mirror Glaze Is Too Much: Easier Alternatives
A mirror glaze is a special-occasion finish. For everyday glossy cookies, consider simpler options from our pillar guide:
- Powdered sugar glaze with corn syrup: A small amount of corn syrup adds shine to a basic powdered sugar and citrus juice glaze, with no gelatin or thermometer.
- Ganache: A 1:1 chocolate-to-cream ganache gives a soft, glossy, pourable finish, and a 2:1 ganache sets firm at room temperature.
- Browned butter glaze: For a warm, matte finish, see our browned butter frosting guide.
Expert Resources on Mirror Glaze
- Sugar Geek Show — Mirror Cake Glaze Recipe — A detailed mirror glaze walkthrough with notes on temperature, consistency, and how much glaze you need.
- Pastry Living — Mirror Glaze — A white chocolate mirror glaze with nine tips, including gelatin bloom strength, blending, and pouring temperature.
- Lakeland — How to Make a Mirror Glaze — A beginner-friendly overview with advice on thermometers, blending, and storing leftover glaze.
Frequently Asked Questions
What temperature should mirror glaze be for pouring?
Around 86–95°F (30–35°C). Use a digital thermometer. If the glaze is hotter, it will run off; if it’s cooler, it will set lumpy.
Can I make mirror glaze without gelatin?
Gelatin is what gives a traditional mirror glaze its structure. Some bakers use agar-agar or other plant-based setting agents, but they behave differently, and you’ll need a tested recipe built around them. For a gelatin-free shiny finish on cookies, try a corn syrup–enhanced powdered sugar glaze instead.
Why is my mirror glaze full of bubbles?
Bubbles come from lifting the blender out of the glaze while it’s running or from stirring too vigorously. Keep the blade fully submerged, strain the glaze, and tap the rack after pouring.
Can I use white chocolate chips?
Chips often contain stabilizers designed to hold their shape, which can make the glaze grainy. A good-quality white chocolate bar, chopped fine, gives a smoother result.
Can I reuse leftover mirror glaze?
Yes. Cover the surface with plastic wrap, refrigerate for up to a week, and rewarm gently to 86–95°F (30–35°C) before reuse. Strain it again if it looks lumpy.
What cookies work best for mirror glaze?
Flat, sturdy cookies like cut-out sugar cookies, shortbread, and cookies pressed flat before baking. Craggy, chunky cookies don’t give the glaze a smooth surface.
How long does mirror-glazed cookie last?
Keep them refrigerated in an airtight container and eat within 2–3 days.
About the Author
Emily Chen is a recipe developer and baking enthusiast who loves exploring the precise chemistry behind the perfect cookie and silky-smooth frosting. With a passion for testing ingredient ratios, temperatures, and techniques, Emily Chen breaks down the science of baking so home cooks can achieve bakery-quality results every single time.
Continue Exploring Gourmet Frostings
Ready for more? Head back to the Gourmet Frostings, Glazes, and Cream Cheese Icing pillar guide for the full set of frosting families, learn how to firm up cream cheese icing in our stabilizing guide, or browse the Seasonal Cookie Flavors guide to match a glaze to the season.
Leave a Reply